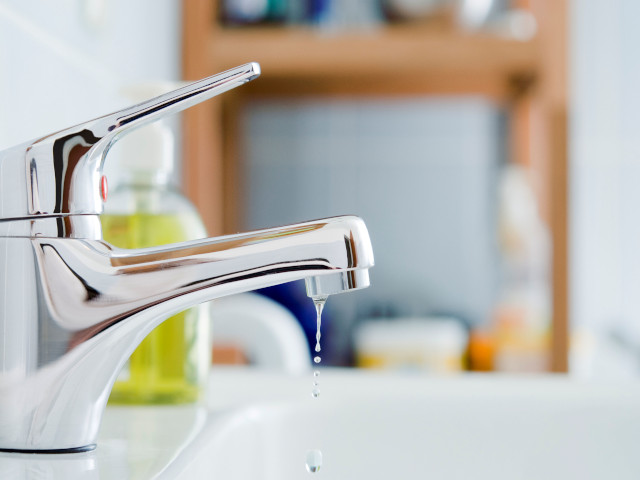
Water damage in your home, resulting from water seeping between tiles, in wall joints, or between the wall and bath/shower, not only looks unpleasant but can also lead to costly repairs. However, there is a solution to prevent this issue, and it is a do-it-yourself task that you can handle with ease. All you need to do is ensure that you prepare the surfaces adequately, display the required patience, and acquire high-quality sealants and tools from Cashbuild.
Prevent moisture seepage in the bathroom or shower area by following these useful suggestions from Cashbuild to avoid tile damage.
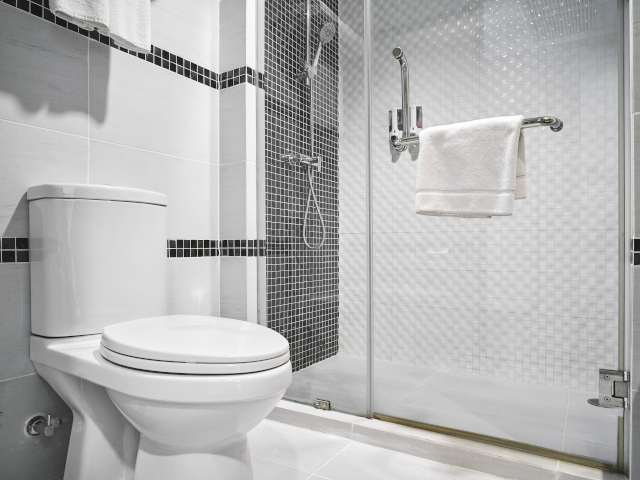
Here we focus on sealing the bath but these steps also apply to your shower pan, kitchen sink and anywhere else that sealant may be needed to prevent water damage.
You'll need
Silicone Sealant; Fixed Blade; vacuum cleaner; acetone; sponge; silicone caulking gun; drying cloth; paper towels; dishwashing liquid; mildew cleaner
Step 1
Remove the old silicone
Carefully slide the blade of the Fixed Blade between the silicone and the surfaces to which the sealant is attached. Important Slide the knife away from you, not towards you.
When the sealant has been loosened from the bath and the wall, use the blade to cut the silicone into sections 5-8 cm long. Slip the blade back under the sealant and lift it out section by section. Remove any remaining remnants of silicone by gently scraping it off with the knife blade.
Tip
Be careful to keep the blade at a low angle so you don't scratch the tub.
Step 2
Clean the surface
Make sure no bits of sealant have remained in the joint by vacuuming the cleaned area. Wipe the bath edge and wall which are now sealant-free with acetone. Allow to dry for a few minutes. Use a concentrated mildew killer after wiping with acetone if the area you're resealing was heavily mildewed. Wipe off any residue with a sponge after a few minutes. Rinse the sponge frequently in hot water. Allow the surface to dry overnight.
Tip
The area must be completely dry before the new silicone is applied or it won't stick properly
Step 3
Reseal the surface
Fill the bath to just below the overflow as the weight of the water will settle the bath slightly lower. This will help ensure the seal lasts longer as it won't be stretched when you get into the bath.
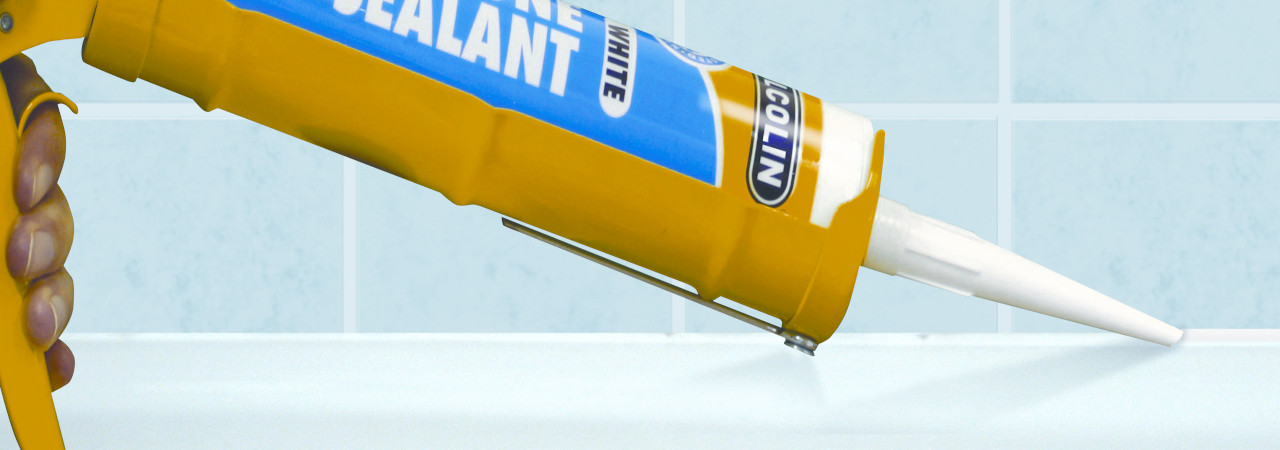
Prepare the silicone sealant tube by cutting the applicator nozzle at a slight (30-45 degree) angle so it will fit snugly against the area where the wall and bath rim meet. Make sure you cut the nozzle at a spot where the size of the hole matches the gap you're sealing. Pull the pressure rod of the silicone caulking gun back to allow you to load the silicone sealant tube. Squeeze the trigger carefully until the pressure rod goes into the base of the cartridge. Position the applicator nozzle against the surface you're re-sealing. Gently squeeze the trigger until the silicone starts to come out.
Apply a small but constant bead of silicone all the way around the edge of the bath. The simplest way to get a neat finish is by using your finger to smooth the sealant: dip it in dishwashing liquid and draw it along the bead of silicone. Have a supply of paper towels and dishwashing liquid ready for wiping off excess silicone or mistakes. Don't leave a bead of sealant for more than a few minutes as it will harden and become impossible to smooth.
Tip
It's important to push the silicone into the joint rather than pull the gun along the top of the joint. For a smoother finish try to apply the silicone in one stroke.
Final touches
Wait for 24 hours then use a damp cloth to wipe off the dish-washing liquid you've used for smoothing the silicone. As soon as the surface is dry the bath-room is protected.
Tip
Trying to wash silicone off your hands with water just makes it adhere more – use dishwashing liquid.
- Visit your nearest Cashbuild store and talk to a friendly consultant for advice on how to seal other home surfaces