Related Products
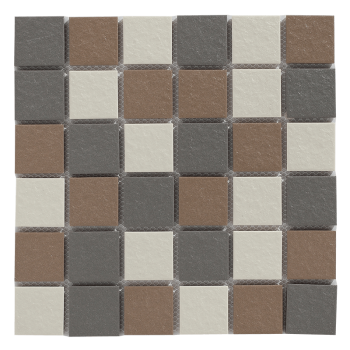
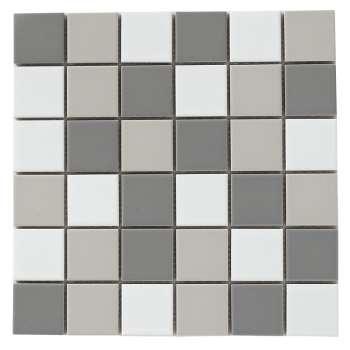
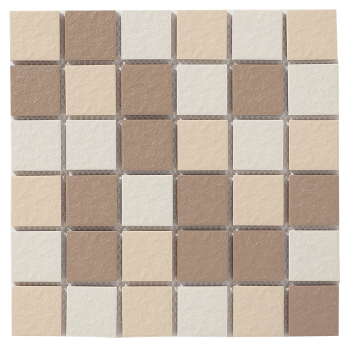
Beautify your shower floor with these DIY tips from Cashbuild for laying ceramic tile mosaic sheets.
Straight-edged tool for scraping, ceramic tile mosaic sheets, tape measure, utility knife, tile nipper, safety goggles, tile adhesive and bonding liquid, masonry trowel, cloth or sponge, grout powder, grouting float.
Begin by smoothing away any ridges in the concrete shower floor with the straight-edged tool. Scrape back and forth until the surface is completely smooth then clean the floor by wiping away excess dirt with a wet cloth or sponge.
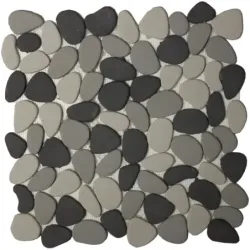
Ceramic tile mosaic sheets are easy to cut so you can simply measure the floor, cut the tile sheets to size (see picture 1 above) and lay them. Choose a readymade pattern that suits the style of the rest of your bathroom or be creative and design your own mosaic by cutting sheets into sections and laying them in a pattern.
When you've decided on a design, position the ceramic tile mosaic sheets on the dry surface to test the layout on the shower floor and work out how many half-tiles you need to fill gaps. If you're battling to get a sheet to lie flat, turn it over and slit the netting as required with a utility knife to allow you to ease the tiles into place.
Use the tile nipper to cut the half-tiles. NB Wear safety goggles while cutting the tiles to protect your eyes from flying shards.
Follow the mixing instructions to mix a batch of adhesive.
Apply the adhesive with a masonry trowel, spreading it to create a smooth layer about 5 mm thick.
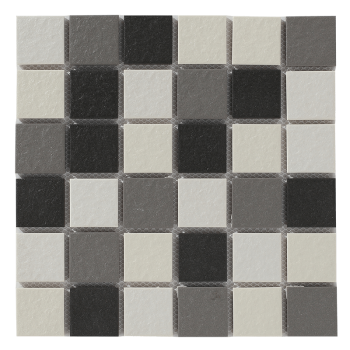
press the tile sheets into place over the adhesive (picture 2), gently wiggling them for better adhesion. Add the half-tiles along the edges when the sheets are in place.
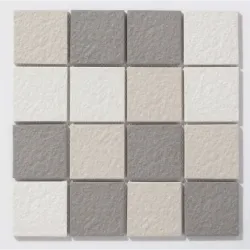
Allow about 20 minutes for the adhesive to set. Rub a damp sponge or cloth (picture 3) over the tiles to make it easier to remove the paper layer from the top of the tiles. use the sponge or cloth to remove excess adhesive
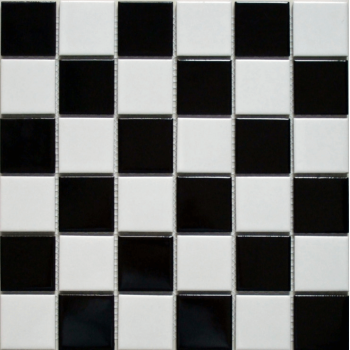
Wait 48 hours for the adhesive to set completely. Mix the grout powder according to the pack-age instructions and apply by pushing it between the tiles with the grout float (picture 4). Remove excess grout and use a damp sponge to create a smooth, clean surface.
Visit your nearest Cashbuild store for ceramic tile mosaic sheets and all the equipment you need to get the tiling job done. Cashbuild stores are conveniently located throughout Southern Africa. For queries or to find your nearest store call the Cashbuild Share call number 086 0100 582
Related Products